
How to Add Credit and Manage Balance in MyLine
Reading time: 5 minutes
Published: February 16, 2026
Adding credit (also called topping up or recharging) to your MyLine account is simple and takes just a minute. Once you have credit, you can make international calls at very low rates.
This guide shows you exactly how to add funds, check your balance, view transaction history, and manage everything — whether you're on Android or iPhone.
Step 1: Open the MyLine App
- Launch the MyLine app on your phone.
- Log in if you're not already signed in (use your phone number and password/PIN).
Step 2: Check Your Current Balance
- Look at the bottom navigation bar — tap the Wallet or Balance icon (it usually looks like a dollar sign or wallet).
- Your current balance will be shown prominently at the top (e.g., "$12.45").
- Below it, you may see recent transactions or your call history summary.
- If your balance is low (under $1), the app may show a friendly reminder or prompt to add credit.
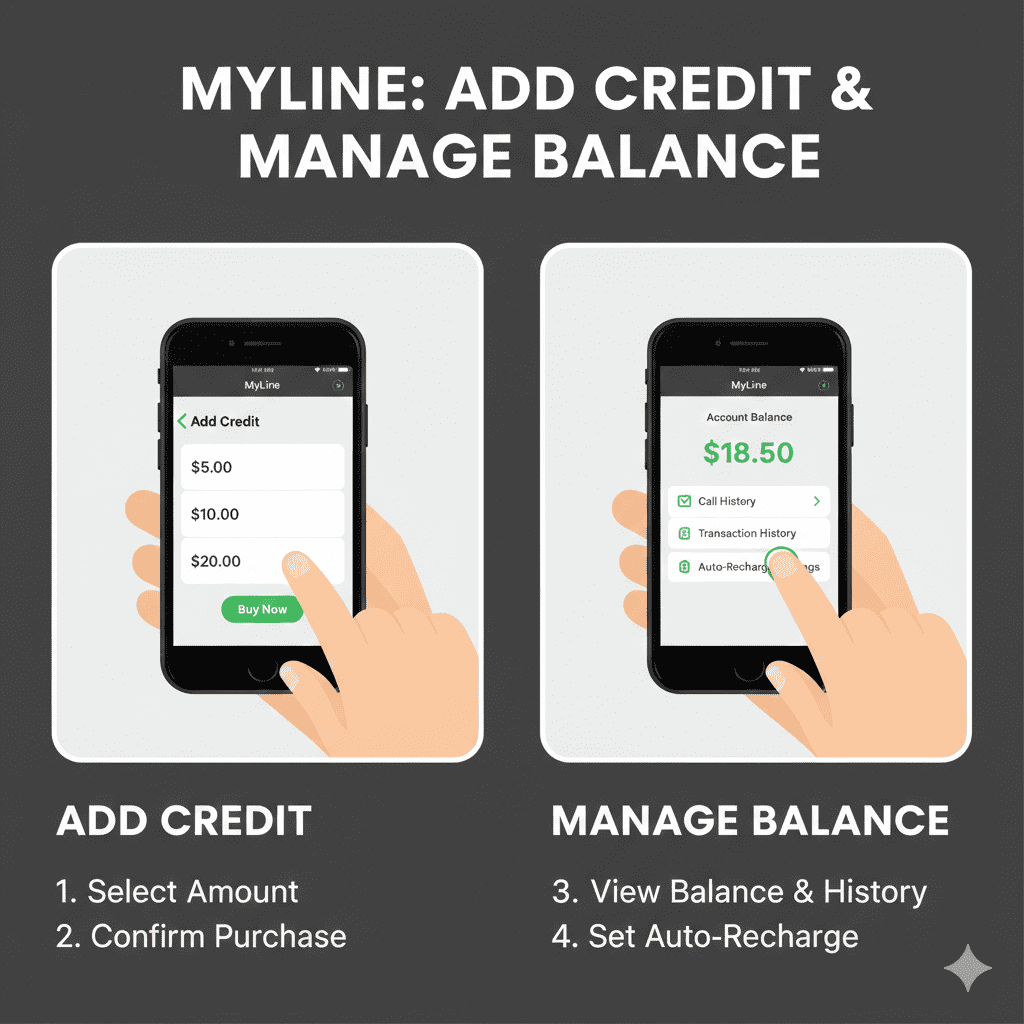
Step 3: Add Credit (Top Up)
- On the Wallet/Balance screen, tap Add Credit, Recharge, or Top Up.
- Choose a preset amount (common options: $5, $10, $20, $50) or tap Custom Amount to enter your own (minimum usually $5).
- Select your payment method:
- Apple Pay / Google Pay — fastest (one tap)
- Credit/Debit Card — enter card details securely
- Other options — may include mobile money or local payment methods depending on your country
- Review the amount and tap Confirm or Pay Now.
- Authenticate (Face ID / Touch ID / PIN / fingerprint) to complete the payment.
- Wait for confirmation — your balance updates instantly (e.g., “$10 added successfully”).
Tip: Always double-check the amount before confirming. You can add as little as $5 to test.
Step 4: View Transaction History
- In the Wallet/Balance section, scroll down or tap Transaction History or Payments.
- You’ll see a list of:
- Top-ups (date, amount, method)
- Call charges (date, number called, duration, cost)
- Refunds (if any)
- Tap any entry for more details (e.g., exact call duration and rate).
- Use the search/filter if you want to find a specific date or type of transaction.
- Export or screenshot history if needed for records.
Step 5: Set Up Auto-Recharge (Optional – Never Run Out)
- Go to Wallet → tap Auto-Recharge or Auto-Top Up (may be under Settings → Payments).
- Choose a threshold (e.g., when balance drops below $2 or $5).
- Select amount to add automatically (e.g., $10 or $20).
- Confirm your payment method (same card used before).
- Enable it — MyLine will automatically top up when your balance hits the threshold.
You can turn auto-recharge off or change settings anytime from the same screen.
You're Ready to Call!
That’s it! You now know how to add credit, check your balance, view history, and even set up auto-recharge in MyLine.
Keep a small balance (even $5) and enjoy making clear, cheap international calls whenever you want — no surprises, no stress.
Top up once, talk often, stay close.
About MyLine
